SLS GT3 – PART 17 – Tires
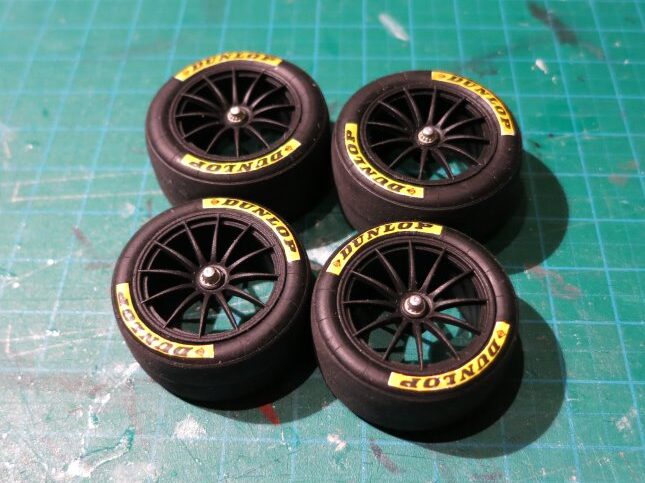
I decided to give the SLS black rims. First, the silvery chrome that was out of the box applied to the rims needed to be stripped away. Oven cleaner is the standart medium to choose for this task and it worked fast and good. You just need to cover the parts with the stuff and after a few minutes the…
SLS GT3 – PART 16 – Body Assembly
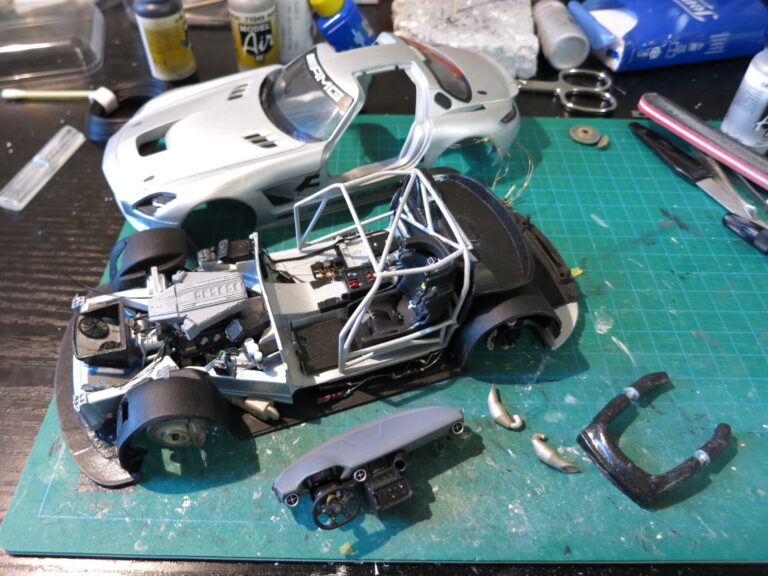
It’s time for the last chapter of this build which was on my table for over 1 1/2 years now! All the planning of the tight fit would now come to a reality check. First, the cockpit with the frame was finally permanently glued on the underbody. There are connectors between the wireless charging coil and the battery pack to…
SLS GT3 – PART 15 – Bodywork Details
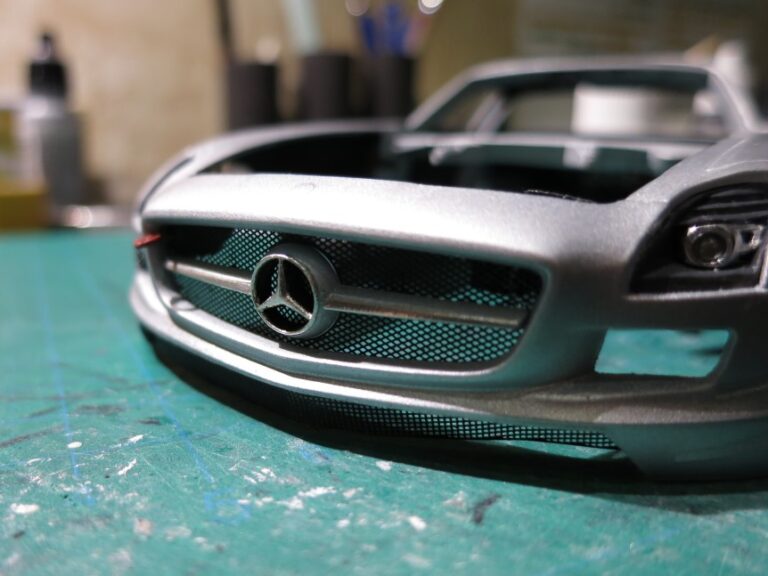
It’s time for the last details concerning the bodywork. Photo etched (PE) mesh from the Hobby Design detail up set was painted black and applied to the front and hood intakes. The small fins on the hood intake were covered with bare metal foil. The same happened to the Mercedes star and the leading edge of the front intake seperator.…
SLS GT3 – PART 14 – Windows
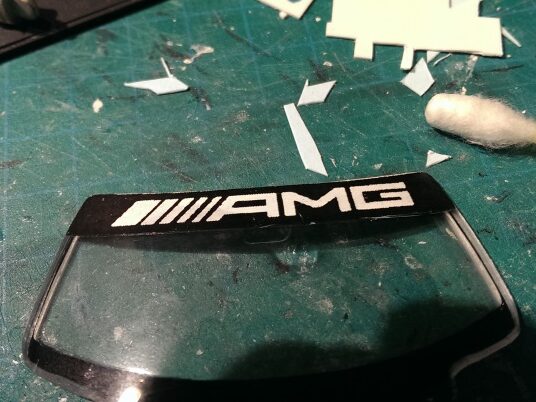
The car has a AMG banner on the top of the windscreen. This sticker was drawn and then twice printed to transparent decal paper (like I did with some previous decals). First, one of the two similar decals was applied, then some white paint (because standart printers can’t print white of course) and then the second decal. This makes the…
SLS GT3 – PART 13 – Electronics Integration
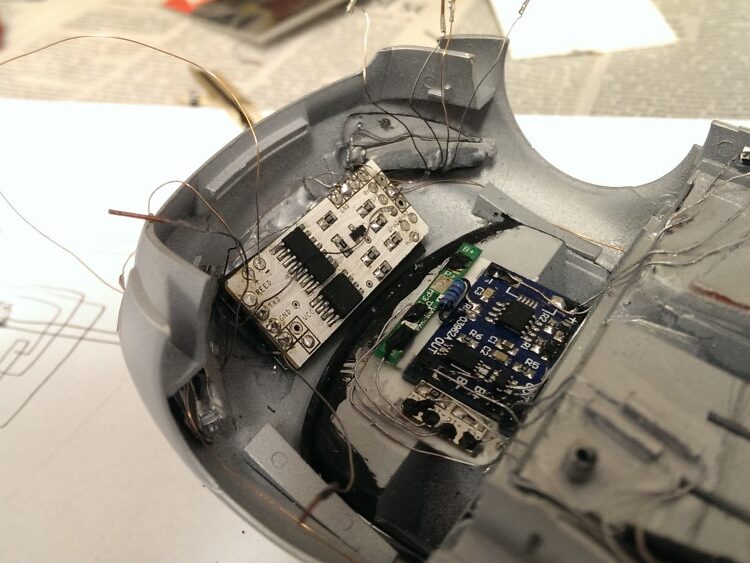
After the body was finally painted, the rest of the electronics could be integrated. The front and rear lights, the main PCB together with the Bluetooth module and the magnetic power switch were glued in. Enamelled coper wires are used to connect everything. These wires are very thin and isolated by a thin enamel coating. This coating can partially be…
SLS GT3 – PART 12 – Livery
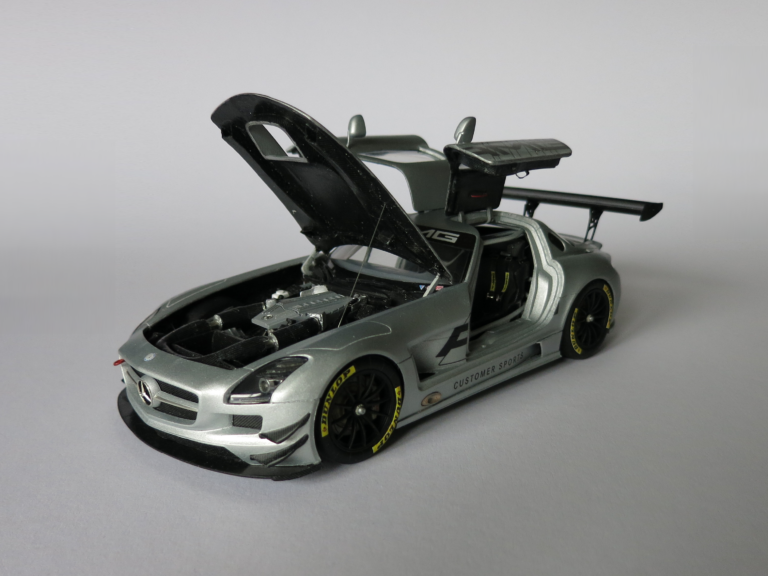
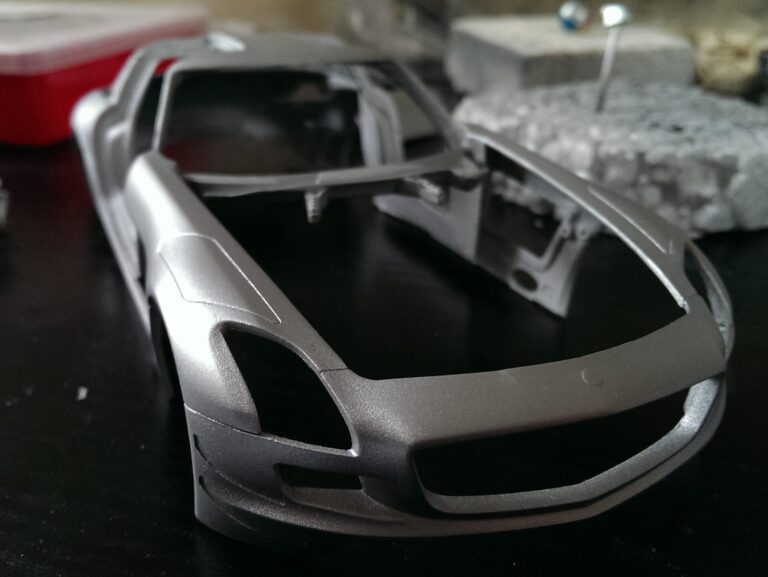
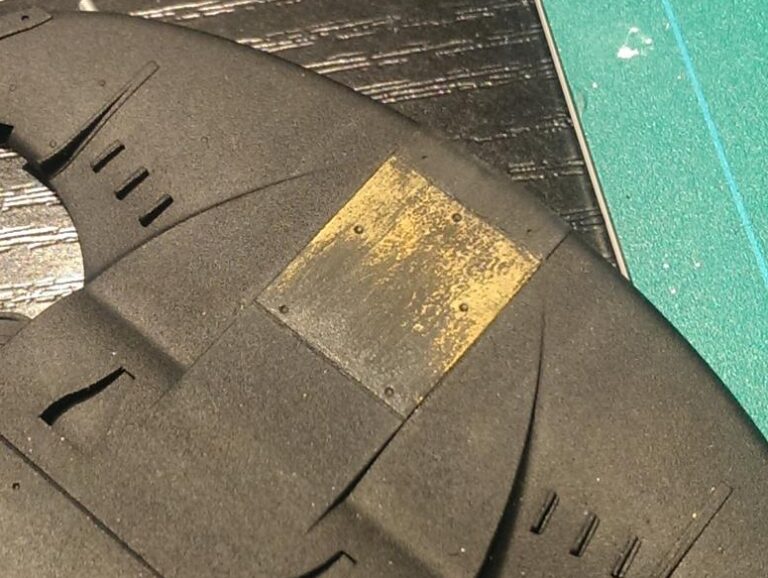
I had a few liveries for the SLS in mind. Most of them were real world racing liveries. But in the end I couldn’t resist the simple but in my opinion very elegant and fitting silver showcar livery I saw at Europapark in 2014! The primer I used was Vallejo’s grey surface primer. I wanted to spray multiple thin layers…
SLS GT3 – PART 11 – Engine Details
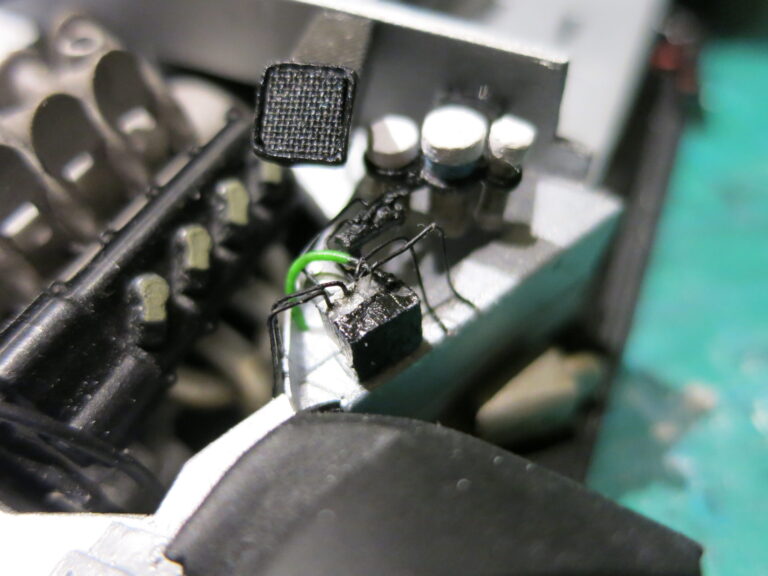
There are plenty of components, hoses and wires inside the engine compartment. In hours of fine work those were replicated. Again styrene, different metal wires and Milliput were mainly used. – Project Page –
SLS GT3 – PART 10 – Air Intakes
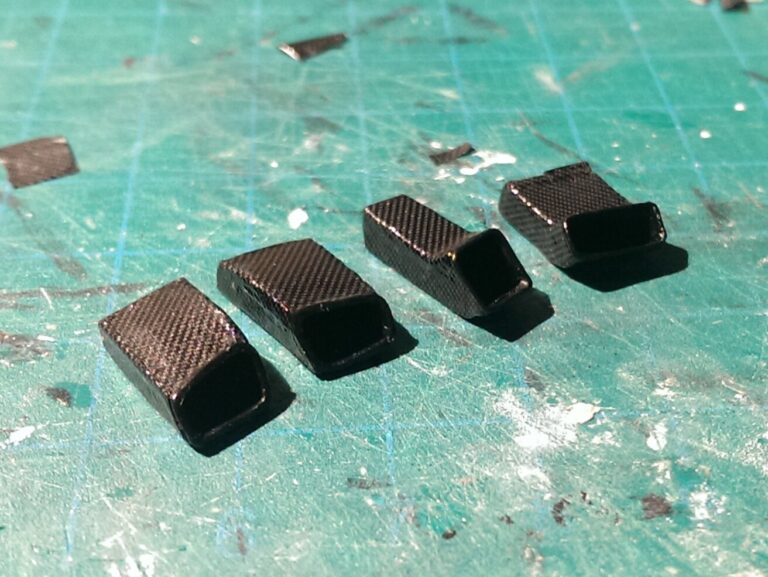
Main Intake The big intake at the front has a rather complex shape. It needs to fit around the radiator and beneath the hood. I melted together some flexible parts of drinking straws to make an initial shape. This construction was fixed using epoxy glue on the outside. This also smoothened the shape. Some filling and sanding later I glued…
SLS GT3 – PART 9 – Engine
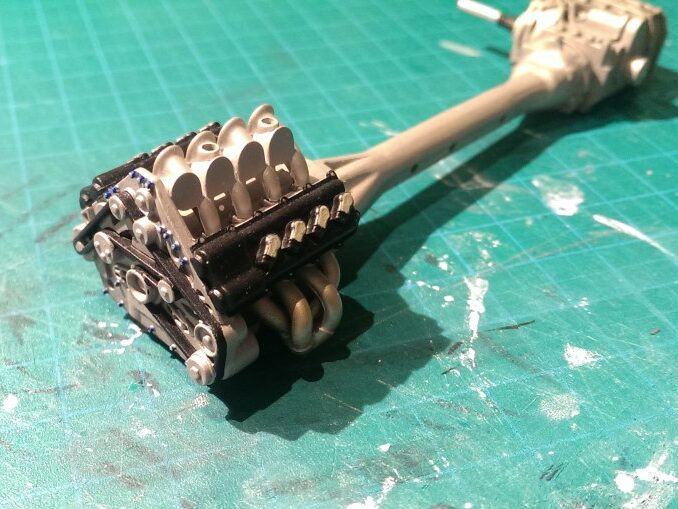
The engine-block is nearly identical to the roadcar version and was taken straight from the Revell kit to the GT3 car. From the Revell kit I also took some engine parts and the radiator. The integration of the engine into the model now shows that the crash-frame was build correctly. The engine cover was painted grey and the Mercedes star…
SLS GT3 – PART 8 – Electronics
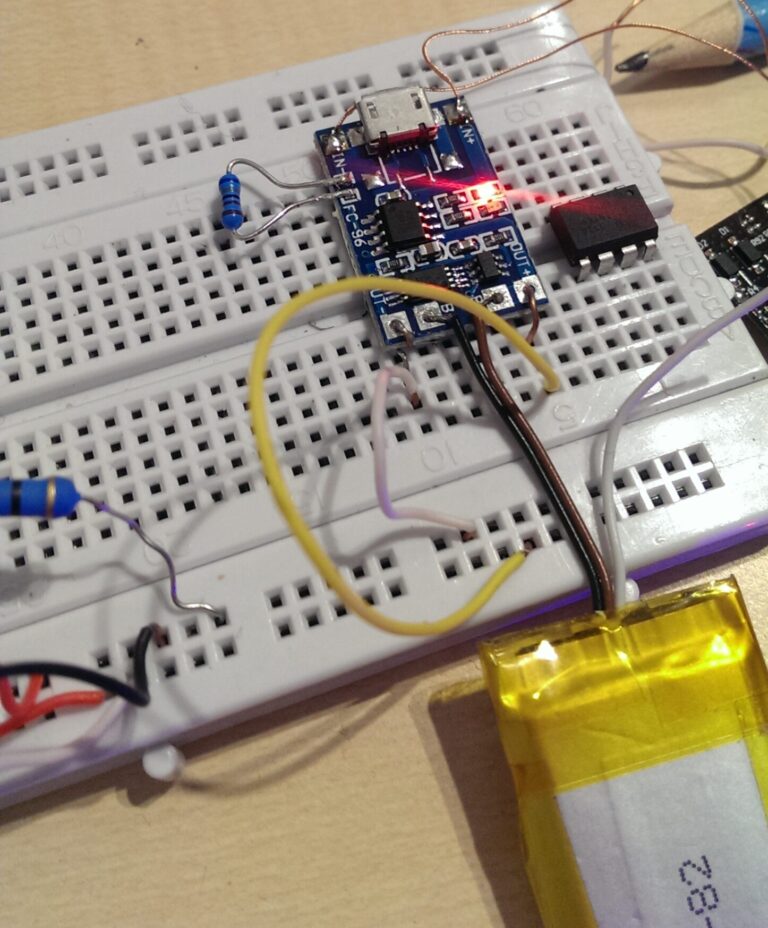
I have described the integration of the LEDs in a previous post, now we focus on all of the other electronic components needed to make it work. There is very limited space inside my model and as I want to make everything completely invisible, a little bit of creativity is needed. Battery and Battery-Charging I chose a Li-Ion battery for…
SLS GT3 – PART 7 – Cockpit 3
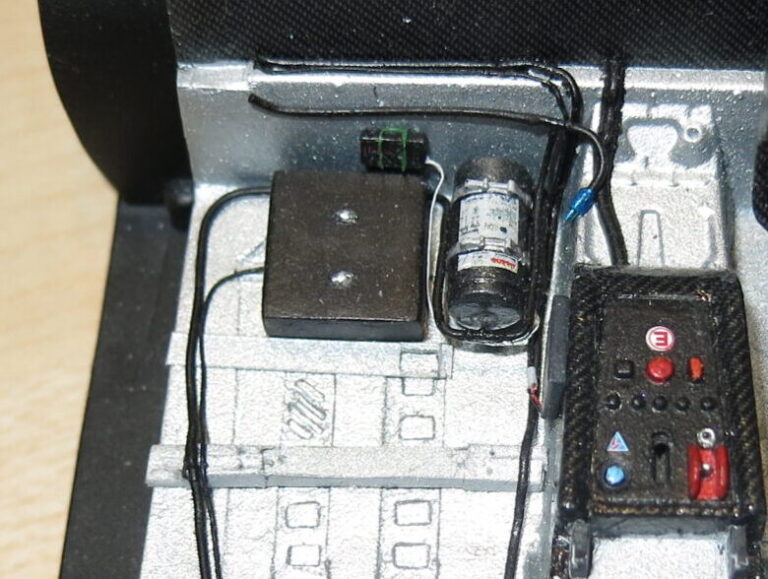
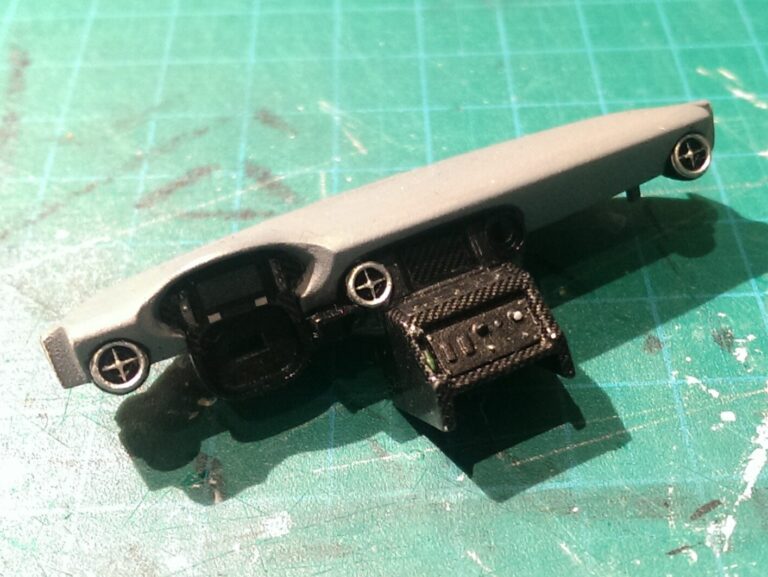
The cockpit is packed full of stuff, so plenty of work to do there aswell! The components on the passenger side of the cockpit were molded into the cockpit shell. And as the recreation of them was not accurate, I decided to cut that piece out and recreate the floor of the cockpit with styrene. Then I took what I…
SLS GT3 – PART 6 – LEDs
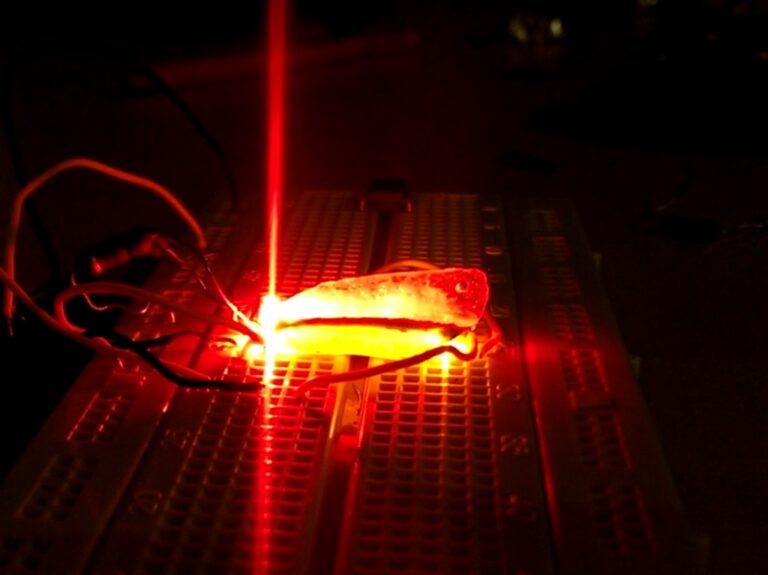
The SLS is my first model to get LED lights. The aim is to make this feature completely invisible once turned off. This applies especially for the controlling electronics and the power switch. But more on that in another post. Here we focus on the integration of the LEDs into the kit. There are some videos around on the internet…
SLS GT3 – PART 5 – Cockpit 2
After painting the cockpit and crash-frame in silver, it was time for applying the carbon decals to it. And as we have a racing car on the desk, there are plenty of parts to cover… Vallejo’s decal medium helped me out pretty well. Next up is the seat. I bought the detail-up SLS GT3 seat from Hobby Design. With Milliput…
SLS GT3 – PART 4 – Chassis Details
Huge parts of the wheel housings can later be seen on the finished model. So the default plastic grids were replaced by some mesh. On the front of the car (front splitter) there is a wooden plank to protect the underbody parts from damage while scratching over the track. On the front of the car (front splitter) there is a…
SLS GT3 – PART 3 – Crash-Frame
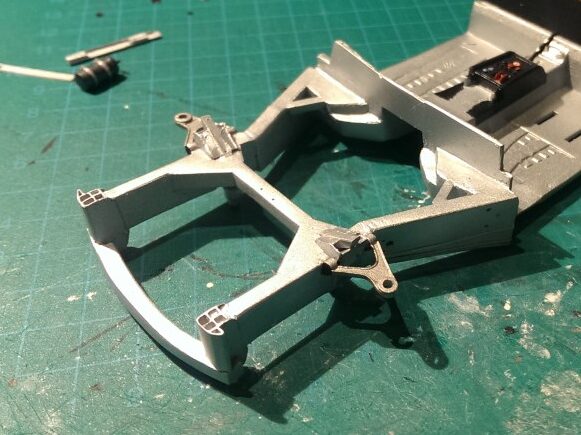
There is no engine in the Fujimi kit and the Revell kit only gives us the engine-block. But there is much more visible in a racecar engine compartment in comparison with a normal road car. The first thing to build is the crash-frame which surrounds the engine-block. To make it fit, some modifications need to be made to the front…
SLS GT3 – PART 2 – Cockpit 1
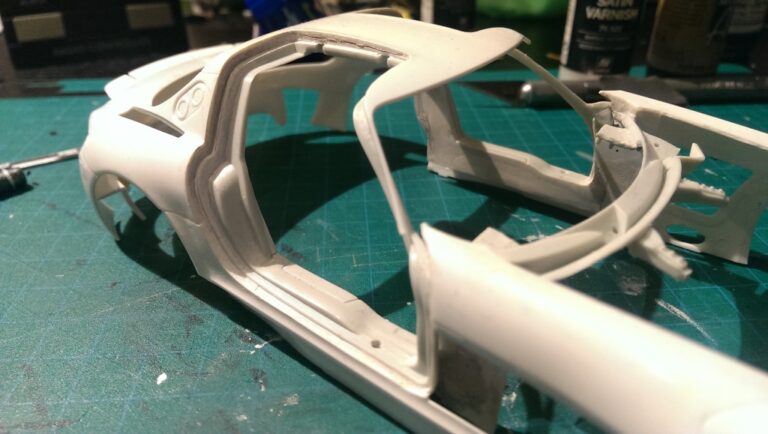
The Fujimi kit is out of the box not featuring opening doors. But those gullwing doors are so unique, how could you not put this feature on the model? After carefully cutting out the doors, there was a gap between the outer shell of the body and the cockpit. So, the door frame was taken from the Revell kit and…
SLS GT3 – PART 1 – Introduction
The Mercedes SLS GT3 has always catched my attention. The sound of his V8 can easily be distinguished from every other GT3 car and the whole thing just looks awesome. So here we go with the 1/24 Fujimi kit: But I also want to integrate a fully detailed engine into the model and since the Fujimi kit doesn’t have one…

